Create new conversation
If you are in the inbox or group details,
simply click on the action button, which is located at the bottom right of the screen and which
looks exactly the same as the following image:
If you are somewhere else in the application and don't want to go to your inbox, you can use the
shortcut by pressing the C on your keyboard.

You should now be looking at the create conversation modal window that looks like the image above.
Add recipients
Click into the ‘recipients‘ text field and start typing your colleagues‘ names or group name and our
autocomplete feature will speed up the process for you.
| info_outline | Note that you can add whole groups as recipients which means all members of the selected groups will see the conversation. You can also add individual people or even have a combination of both. |
If you check the box under the ‘recipients‘ input field, then the conversation will be sent to all
people in the team.
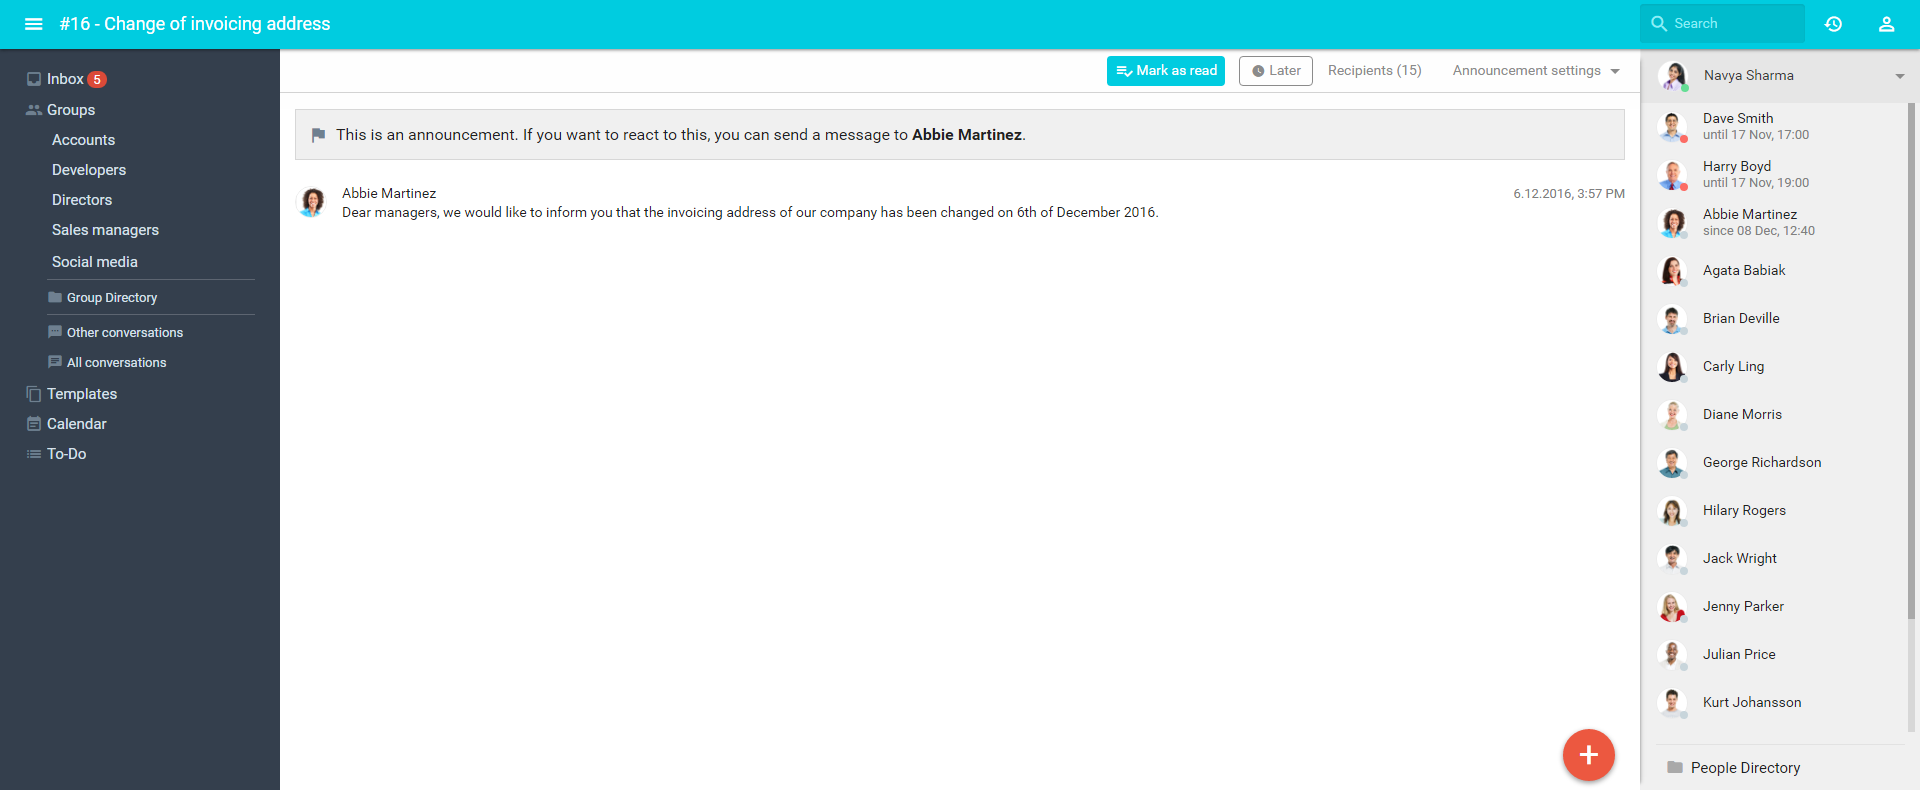
Announcement check-box
This check-box is located at the bottom right of the modal window and when checked will
create an announcement instead. Important messages can be marked as an “announcement” and will be
displayed in the top of your inbox, highlighting their importance. To acknowledge receipt of their
content, people have to mark them as “read”, which ensures that the information is delivered to each
colleague.
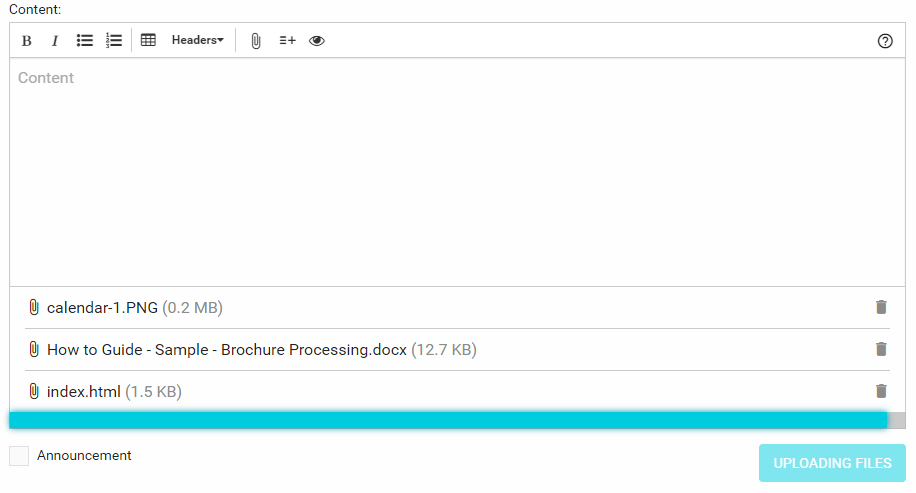
Attach file(s)
To attach one or more files to the conversation, you can either click on the paperclip icon
in the header of the “content“ text field or drag & drop your files directly to the modal
window.
Create conversation from template
On the right side of the ”recipients” field is located the ‘from template‘ button. Click on it
and select a previously created template, so you don't have to write similar content over and over
again.